Building a X1541 cable
Introduction
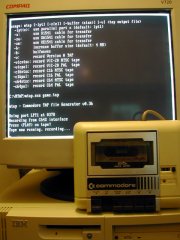
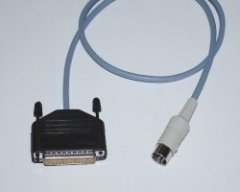 It is possible to transfer a diskette from a 1541, 1540, 1570, 1571 or 1581 disk drive to a PC. The opposite is also possible. For the transfer you need a special cable. There are different kinds but the most common are the X1541 and XE1541 cables. The X1541 is the simple version and works fine with older PCs. But with modern PCs the X1541 cable doesn't always work. For these PCs the XE1541 cable is a better option. You can also use a XE1541 cable with older PC's.
This article will explain how to build a X1541 cable. It is easy if you have some basic soldering skills. But also for the in-experienced people this is a nice starting project.
The X1541 cable is developed by Leopoldo Ghielmetti.
Related links.
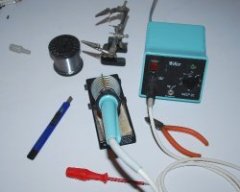
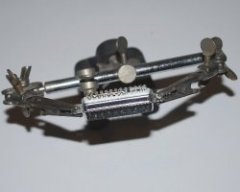
Tools:
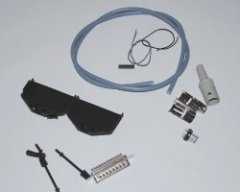
Parts:
The schematic.
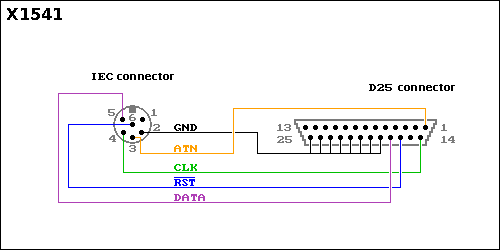 This is the schematic of the X1541 cable.
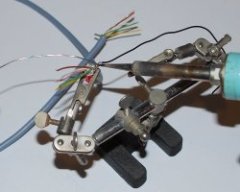
If you don't have lots of soldering experience then practice on something with no value. For example a piece of experimental pcb and some wires or parts. Don't heat the wires or parts too long when soldering. Use a helping hand to set up your stuff. With the helping hands you can concentrate on the soldering.
Check all your connection when finished. A wrong connection can damage your Commodore disk drive or your PC.
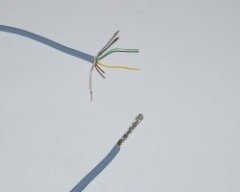
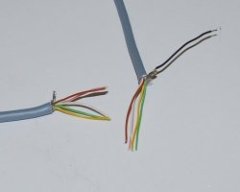
Stripping the cable:
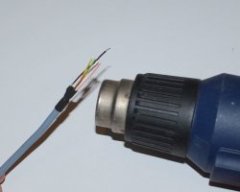
Finishing the shielding:
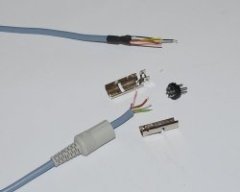
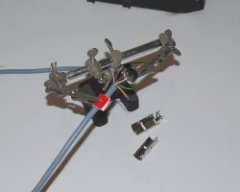
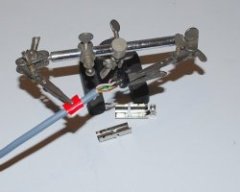
Preparing the 6 pin DIN connector:
6 pin DIN connector soldering:
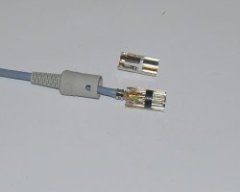
Finishing the 6 pin DIN connector:
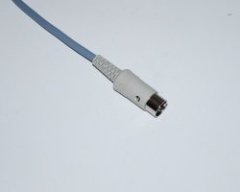
6 pin DIN connector ready:
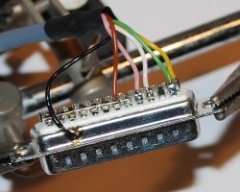
SUB-D connector soldering:
SUB-D connector soldering:
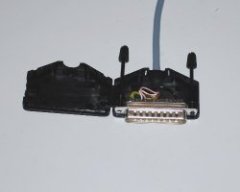
Finishing the SUB-D connector:
Testing the cable:
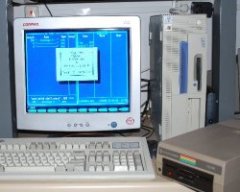 Connect your PC and a Commodore disk drive with the cable.
A well known program for the transfer of disks is Star Commander. This program is written by Joe Forster. The program works with DOS.
Go to this web page to download the program. You can also find a manual for the program on that web page.
Update: 2019-05-11 13:30:07
